Peanut butter Fudge
BEHOLD: the day has come. The day that I've finally mastered Peanut Butter Fudge. Readers have been asking for this recipe for 10 years. It has the EXACT same fudgy, rich, moist texture as classic chocolate fudge made with marshmallow fluff, but has intense peanut butter flavor. It's de...
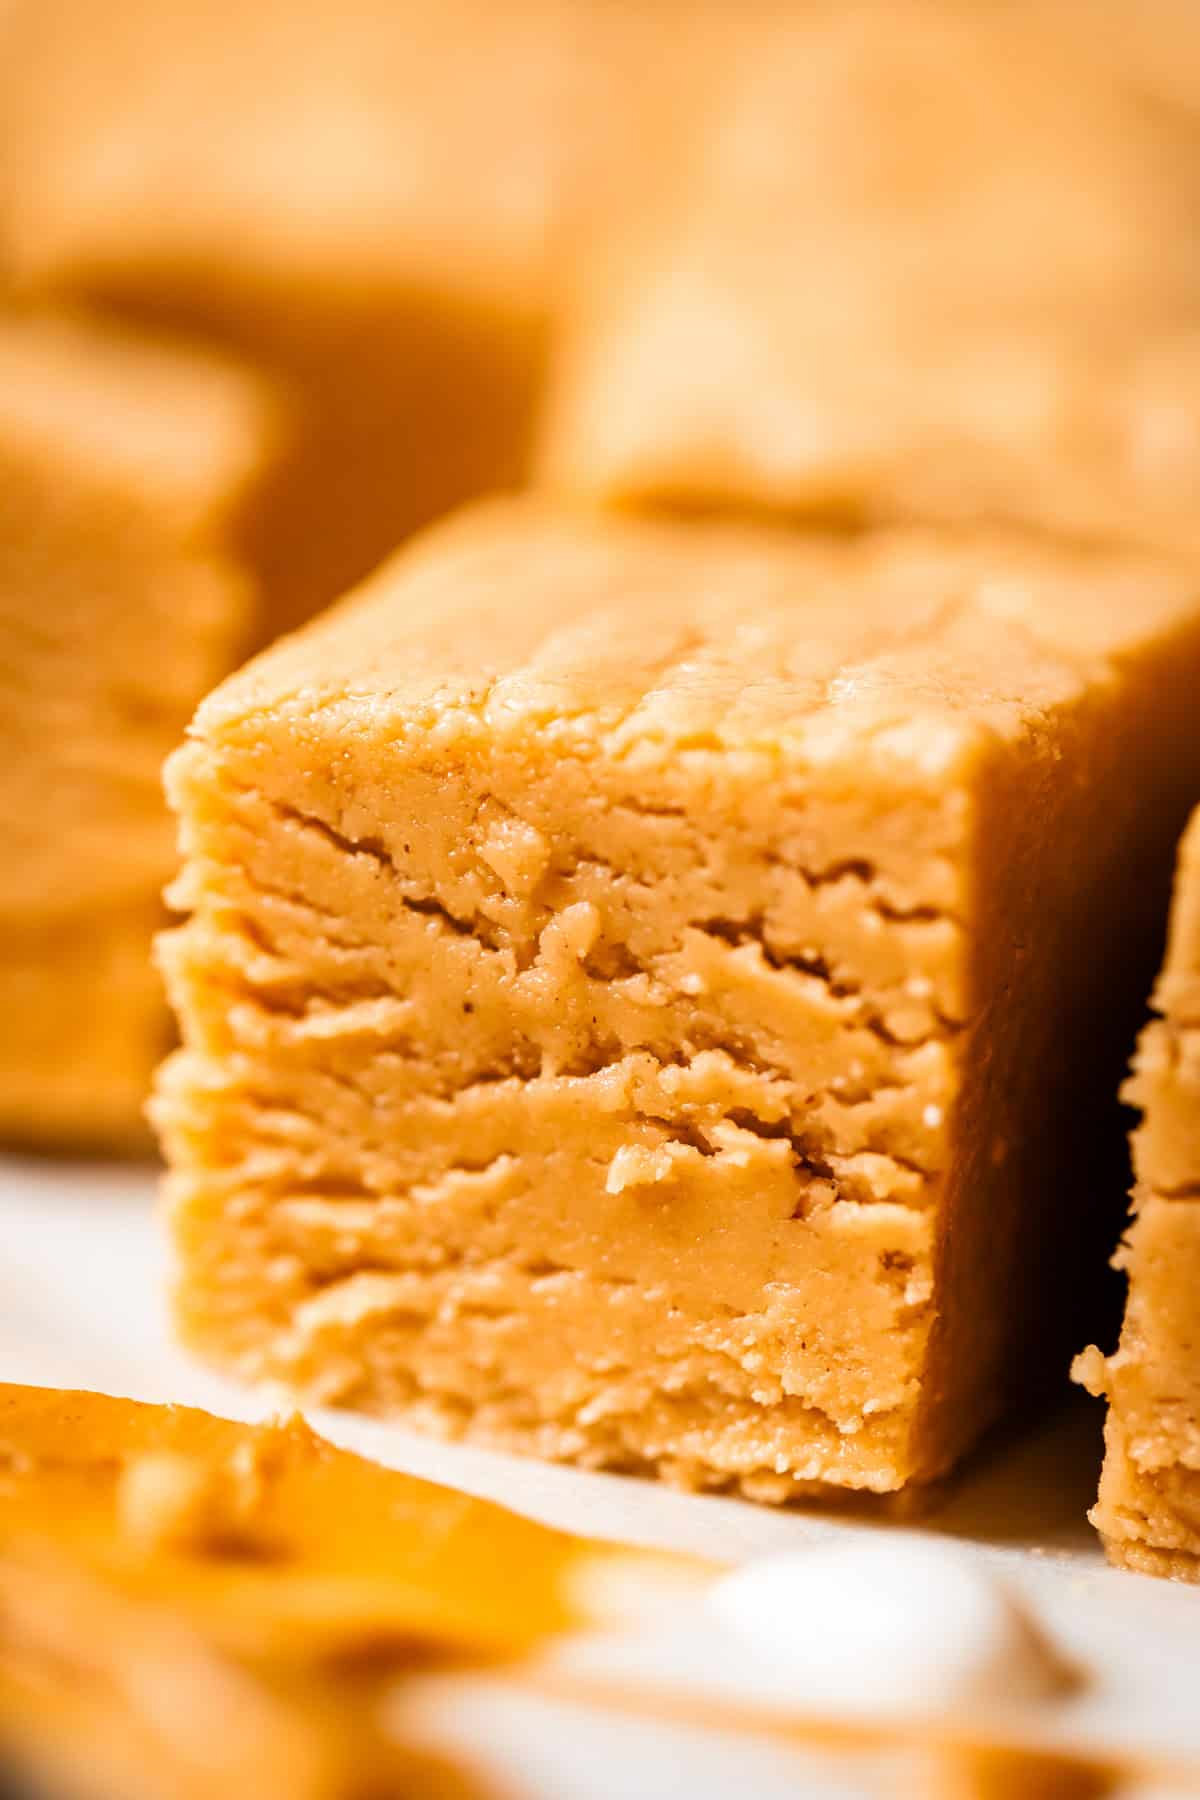 Foto: The Food Charlatan — The Food Charlatan
Ingredients
- 7 tablespoons butter (I use salted butter)
- 2 and 1/4 cups granulated sugar
- 2/3 cup evaporated milk
- 1/4 teaspoon kosher salt
- 1 and 2/3 cups peanut butter (15 ounces)
- 1 (7-ounce) tub marshmallow creme
- 1 teaspoon vanilla
Steps
Prepare your ingredients: For peanut butter fudge-making, it's important to have everything completely measured out and ready to go before you turn your burner on. Fudge moves fast, so you need to be totally prepared!
Line an 8×8 or 9×9 inch square pan with parchment paper. Unscrew the lid from the marshmallow creme and remove all traces of the foil seal from the tub (we are microwaving it later). Spoon 1 and 2/3 cup peanut butter into a measuring cup. It's about 15 ounces, if you prefer to use a scale. You won't have time to measure this later because you will need to be stirring.
Make the fudge: In a 3-quart HEAVY saucepan over medium heat, melt 7 tablespoons butter (one tablespoon less than a full stick). Use a wooden spoon to drag the melting butter up the sides of the pot, clear to the top, greasing the edges of the pan.
Pour in 2/3 cup evaporated milk and stir.
Once the butter is mostly melted, slowly pour 2 and 1/4 cups sugar and 1/4 teaspoon salt into the center of the pan as carefully as you can, making sure to not get any sugar crystals on the side of the pan.
With your wooden spoon, draw the butter and evaporated milk in from the edges toward the center, going slowly all the way around the pan until the sugar is mostly moistened. Do not leave any sugar crystals on the side of the pan or on the edge of your spoon; it will make your fudge grainy. The goal is to dissolve all of the sugar BEFORE the mixture comes to a boil.
Keep the heat at medium for a couple minutes, stirring until the sugar is dissolved. Dip two fingers into the mixture and rub together; if you feel granules, the sugar is not yet dissolved. Once you are certain the sugar is dissolved, you can turn up the heat to medium high to help get it to a boil.
Settle in for the boil: Bring the mixture to a full rolling boil over medium high heat, stirring constantly with a long wooden spoon. A rolling boil means bubbles are coming up from the center of the pot, not just the edges.
Once it starts boiling, set a timer for 5 minutes and turn the heat down to medium so that you don't burn your fingers off while stirring. The mixture should be bubbling the full 5 minutes. Stir constantly. A candy thermometer should read about 234-236 degrees F at the end.
Take it off heat early if it reaches 234-236 before 5 minutes. Overcooking at this stage makes for dry, crumbly fudge.
Remove the pan from the heat.
Add in 1 and 2/3 cups peanut butter and stir quickly until mixed in.
Heat your 7-oz tub of marshmallow creme in the microwave for about 15-20 seconds until the mallow has risen slightly above the lip of the tub. This makes it super easy to scoop out.
Move quickly. Add all the 7 ounces of marshmallow creme to the peanut butter mixture and beat with a wooden spoon until nearly blended.
Add 1 teaspoon vanilla and continue stirring until there are no more marshmallow streaks and the mixture looks even and smooth. Stop stirring as soon as it's combined. It will look slightly grainy. TRUST. Also, move faster.
Pour into final pan. Immediately pour into the prepared pan. Don't scrape the edges of the pot too well. Only pour fudge into the pan that is completely liquid and smooth. If the fudge-bits on the edges of the pot look dried out at all, leave them behind.
Shake the prepared pan to help the fudge settle. Do not touch the top of the fudge or try to smooth it with a spatula. It will have a rippled appearance.
Let cool to room temperature. (Good luck with that.) It will take about 2-4 hours depending on the temperature of your house.
Slice and serve! I like to slice a square pan of fudge into 7×7 rows, making about 49 small pieces. Fudge is so rich! Rich for you guys. I actually say this fudge serves 7 people, I count by rows. 1 row for me, 1 row for you...
Store on the counter covered with plastic wrap. Do not refrigerate. Unfortunately this means you will probably eat "just a sliver" of fudge every time you pass through your kitchen. Oh darn! This is one of the greatest joys of the season if you ask me! Dopamine all day
To freeze, remove completely cooled fudge from the parchment paper and wrap well in plastic wrap two times. Put it in a ziplock freezer bag and seal.
Loading comments...